Unlocking Nature’s Bounty: The Ultimate Guide to Soaking and Sprouting
Soaking and sprouting seeds, grains, and legumes is a practice rooted in ancient traditions and offers a modern approach to improving your diet. These simple yet transformative processes enhance the nutritional value of foods, improve digestion, and add delightful texture and flavor. In this guide, we will explain the science behind soaking and sprouting, outline their benefits, and provide a practical soaking and sprouting chart along with easy-to-follow instructions.
The Magic of Soaking and Sprouting
1. Nutritional Enhancement
Soaking and sprouting kick-start the germination process, which helps neutralize antinutrients like phytic acid. Phytic acid can inhibit the absorption of important minerals like iron, zinc, and calcium. By breaking down these compounds, sprouting makes these nutrients more bioavailable. Additionally, sprouted seeds, grains, and legumes are richer in vitamins, minerals, and proteins, giving your body a nutrient boost.
2. Digestive Ease
Sprouting makes food easier to digest. The germination process breaks down complex starches and neutralizes enzyme inhibitors, reducing bloating and gas. This means the body can absorb nutrients more efficiently. In other words, sprouted foods are gentler on the stomach and intestines, making them an excellent choice for those with sensitive digestion.

3. Flavor and Texture
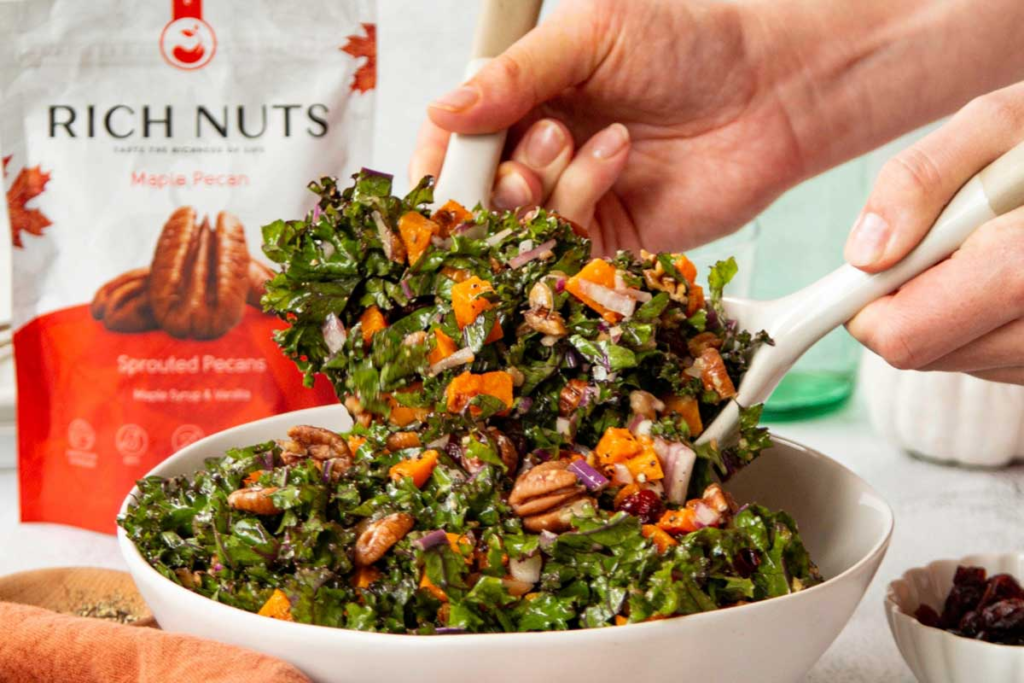
Beyond the health benefits, sprouted foods have a fresh, nutty flavor and a crunchy texture that adds a new dimension to your meals. Whether sprinkled on salads, blended into smoothies, or used as sandwich toppings, sprouted seeds and grains introduce exciting flavors and textures to your cooking repertoire.
Soaking and Sprouting Chart
Here is a comprehensive chart with soaking and sprouting times for common seeds, grains, and legumes. Please note that times can vary based on factors like temperature and water quality, so it’s always good to monitor your sprouts’ progress.
| Food Type | Soaking Time | Sprouting Time |
|---|---|---|
| Alfalfa Seeds | 4-8 hours | 3-5 days |
| Chickpeas | 8-12 hours | 2-3 days |
| Lentils | 8 hours | 2-3 days |
| Mung Beans | 8-12 hours | 2-5 days |
| Quinoa | 4-6 hours | 1-2 days |
| Sunflower Seeds | 8 hours | 2-3 days |
| Wheat Berries | 8-12 hours | 3-4 days |
| Adzuki Beans | 8-12 hours | 2-4 days |
| Barley | 6-8 hours | 2-3 days |
| Black Beans | 8-12 hours | 3-4 days |
| Broccoli Seeds | 8 hours | 4-6 days |
| Buckwheat | 6 hours | 1-2 days |
| Chia Seeds | 30 min | Do not sprout |
| Clovers | 8-12 hours | 4-6 days |
| Fenugreek | 8 hours | 3-5 days |
| Flax Seeds | 30 min | Do not sprout |
| Garbanzo Beans | 8-12 hours | 2-3 days |
| Green Peas | 8 hours | 2-3 days |
| Hemp Seeds | Do not soak | Do not sprout |
| Kamut | 7 hours | 2-3 days |
| Kidney Beans | 8-12 hours | 5-7 days |
| Millet | 8 hours | 2-3 days |
| Mustard Seeds | 6 hours | 3-5 days |
| Navy Beans | 8-12 hours | 2-3 days |
| Oats | 6 hours | 2-3 days |
| Pinto Beans | 8-12 hours | 3-4 days |
| Pumpkin Seeds | 8 hours | 1-2 days |
| Radish Seeds | 8-12 hours | 3-4 days |
| Red Lentils | 8 hours | 2-3 days |
| Rice (Brown) | 9 hours | 3-4 days |
| Rye | 8 hours | 2-3 days |
| Sesame Seeds | 8 hours | 1-2 days |
| Soybeans | 12 hours | 2-5 days |
| Spelt | 7 hours | 2-3 days |
| Teff | 8 hours | 2-3 days |
| White Beans | 8-12 hours | 2-3 days |
Step-by-Step Guide to Soaking and Sprouting
Materials Needed:
- Clean, filtered water
- A large bowl or jar
- A sprouting jar or clean mesh cloth
- Rubber bands (if using mesh cloth)
- Seeds, grains, or legumes of your choice
Step 1: Select and Rinse
Choose high-quality, preferably organic seeds, grains, or legumes. Rinse them thoroughly under cool, running water to remove any dirt or impurities.
Step 2: Soaking
Place the rinsed seeds in a large bowl or jar and cover with plenty of filtered water. Keep in mind that these foods will expand as they soak. Refer to the soaking chart for appropriate times. Once soaked, drain and rinse the items well.
Step 3: Sprouting
Transfer the soaked seeds to a sprouting jar or cover the top of the jar with a mesh cloth secured with a rubber band. Store the jar upside down at an angle to ensure proper drainage and air circulation. Rinse and drain your sprouts 2-3 times daily. Monitor the sprouting process according to the times indicated in the chart.
Step 4: Storing Sprouts
Once the sprouts reach the desired length, give them a final rinse and drain them thoroughly. Let them dry slightly to prevent mold growth during storage. Store the sprouts in an airtight container in the refrigerator and enjoy them within a week for peak freshness.
Soaking and sprouting are simple, yet powerful techniques that unlock the full potential of your seeds, grains, and legumes. By reducing antinutrients, improving digestibility, and enhancing flavor, these processes allow you to enjoy more nutritious and delicious meals. Use the soaking and sprouting chart as a handy reference, and embrace the benefits of incorporating these nutrient-rich foods into your daily diet. By doing so, you’ll unlock a world of flavor, nutrition, and health benefits that nature has graciously provided.
